Fazman's d22

Nissan Navara Forum

Help Support Nissan Navara Forum:

This site may earn a commission from merchant affiliate links, including eBay, Amazon, and others.

fazman

Member
Joined
Jan 21, 2014
Messages
50
Reaction score
0
Location
melbourne
Well i've posted a couple of the first pics before but figured id compile a bit of a thread.

my d22 is nothing out of the ordinary but im really enjoying having a 4x4.

used to have a falcon xr6 ute, so it was a bit of a change but one im very happy i made.

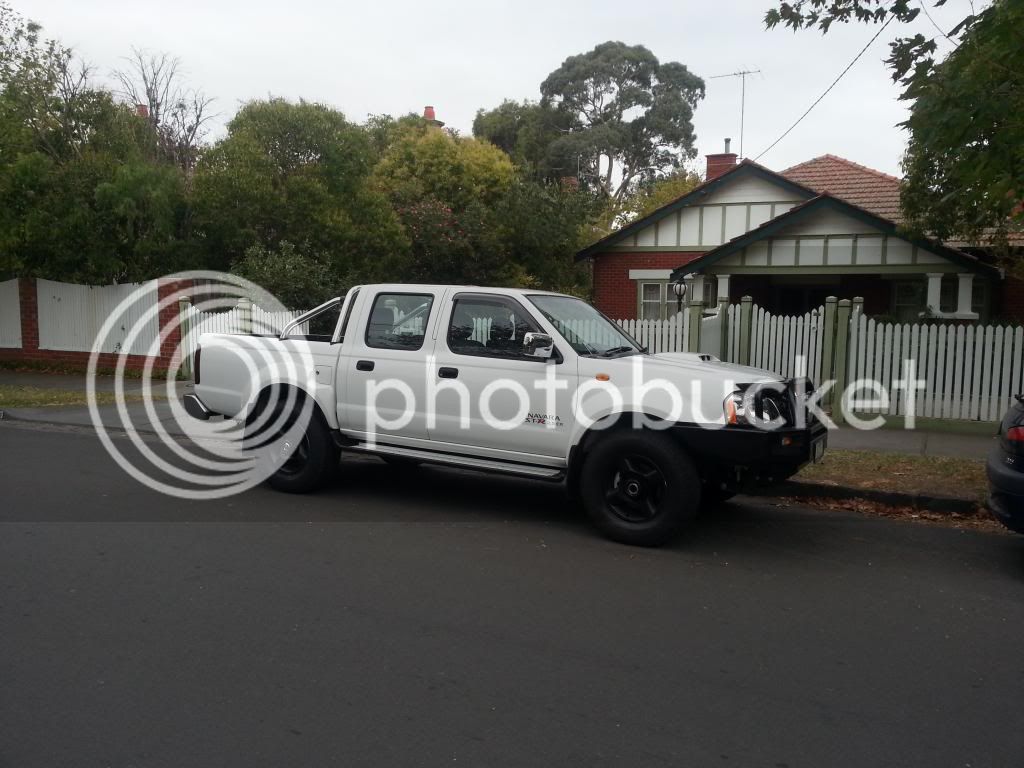
when i picked it up:
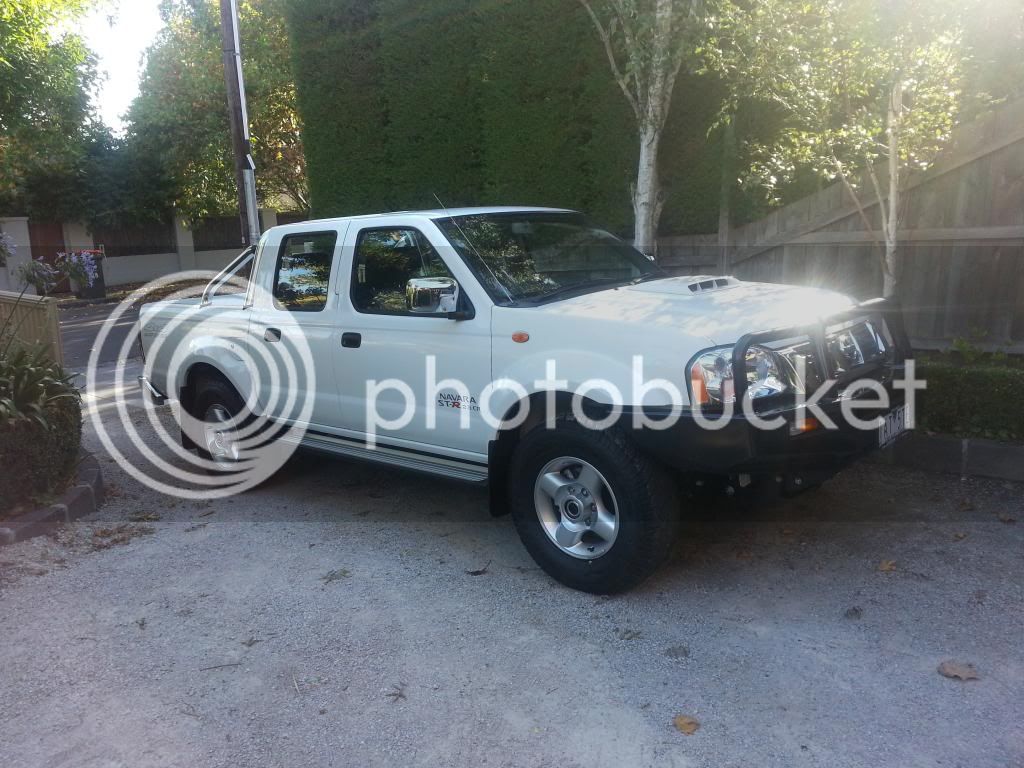

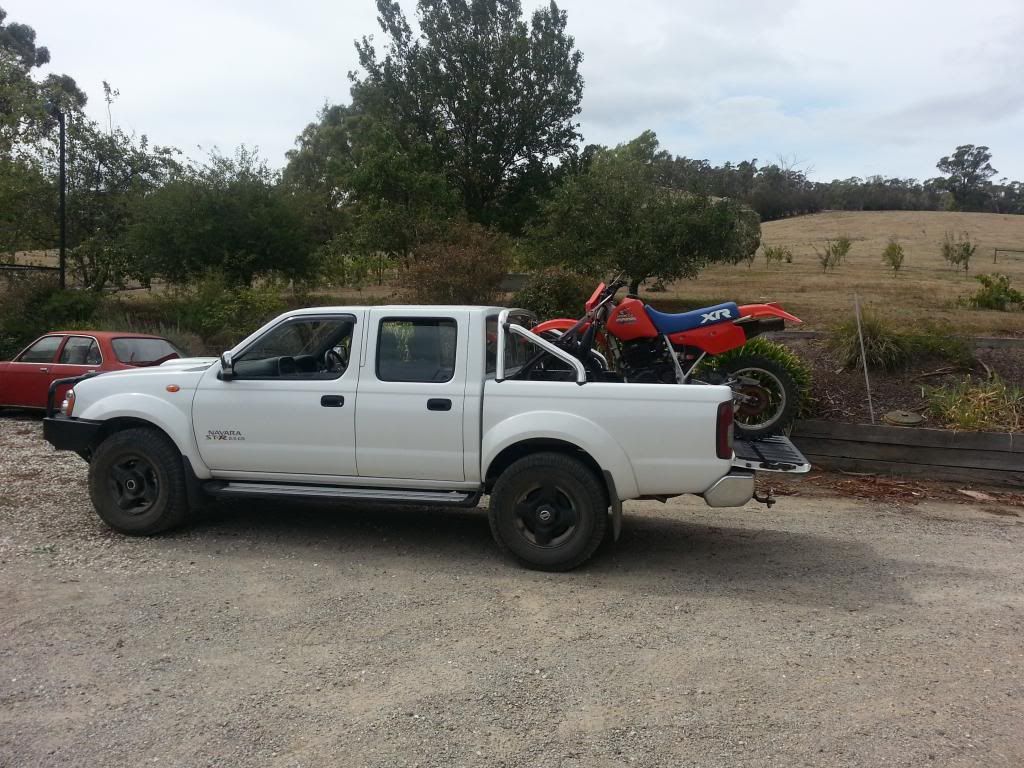
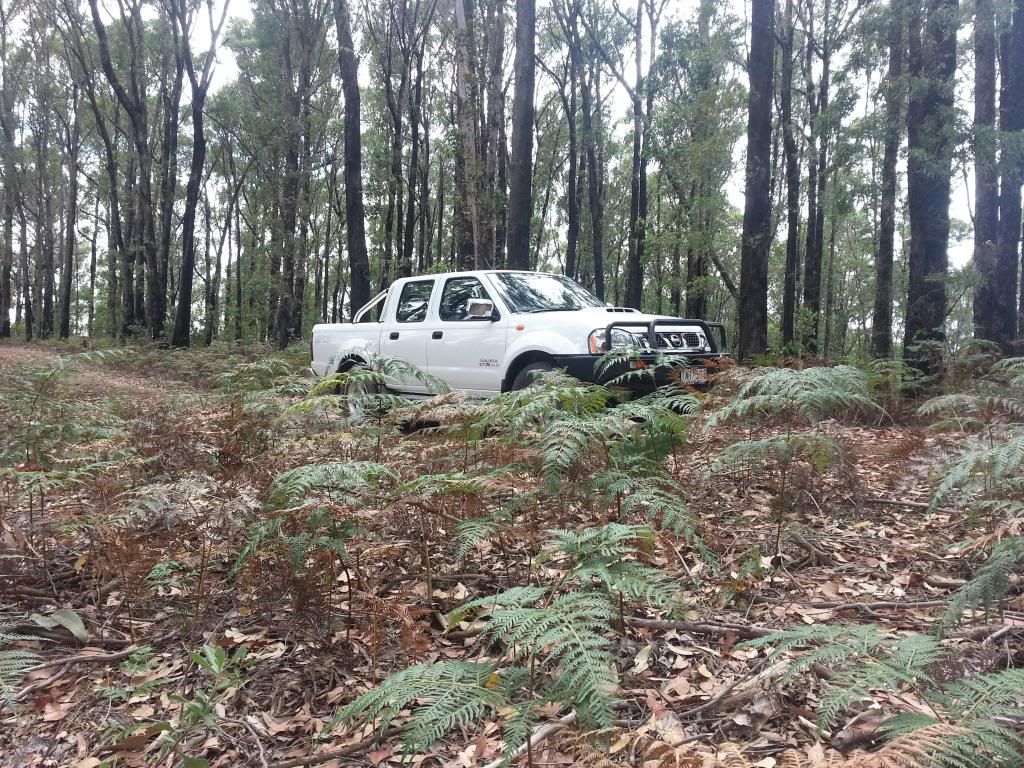
followed by its first offroad outing


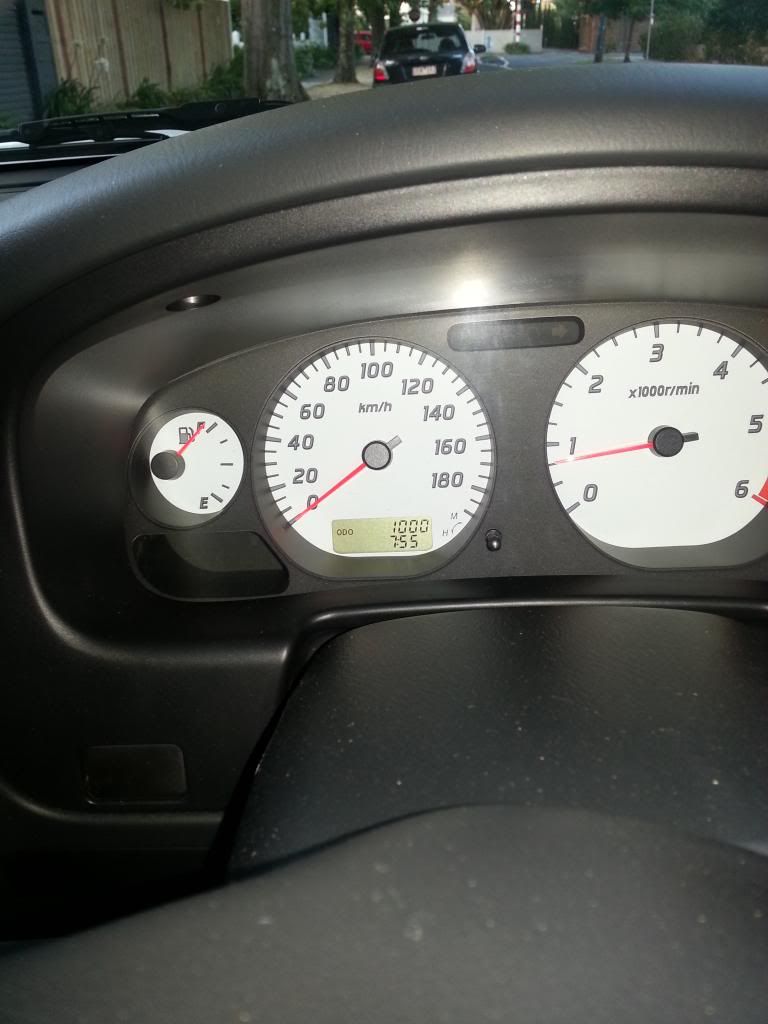
hit 1000k and had it serviced, nissan scratched it...

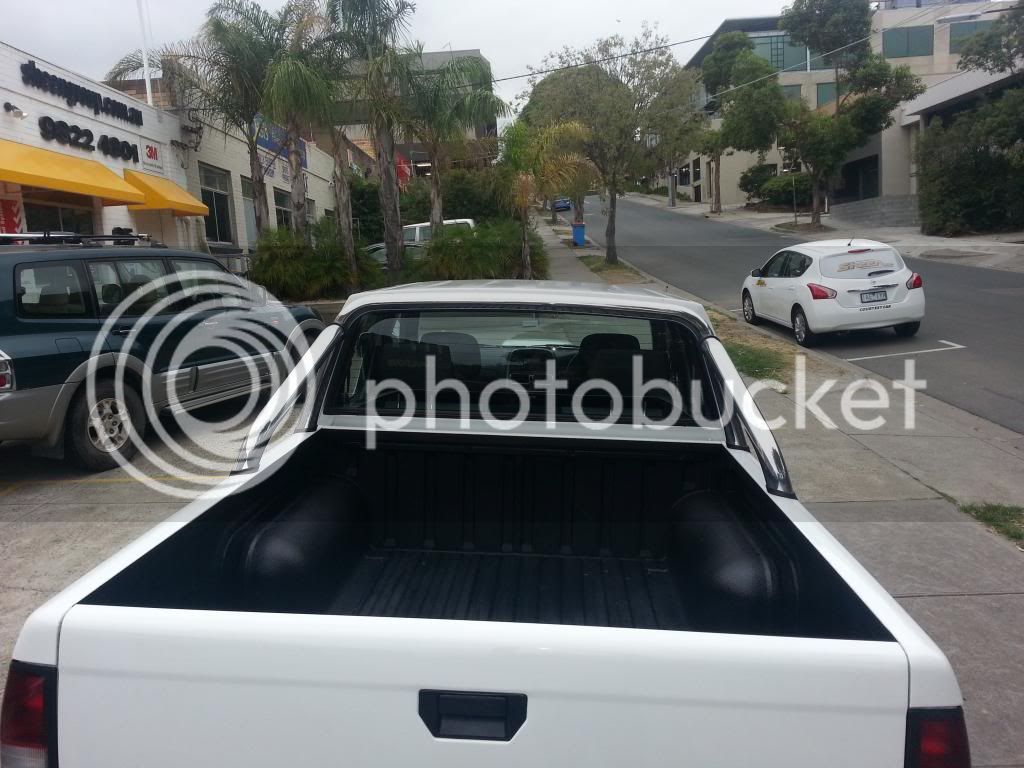
so got the tub repainted and a u-pol liner painted in as part of the rectification works:
 
never liked the alloys, so painted them with black plasti dip and got some ebay HID spotties for when driving to / on the farm


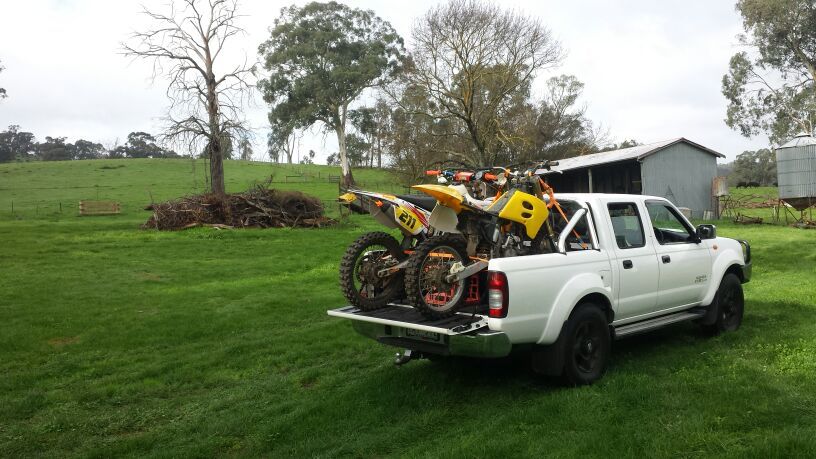
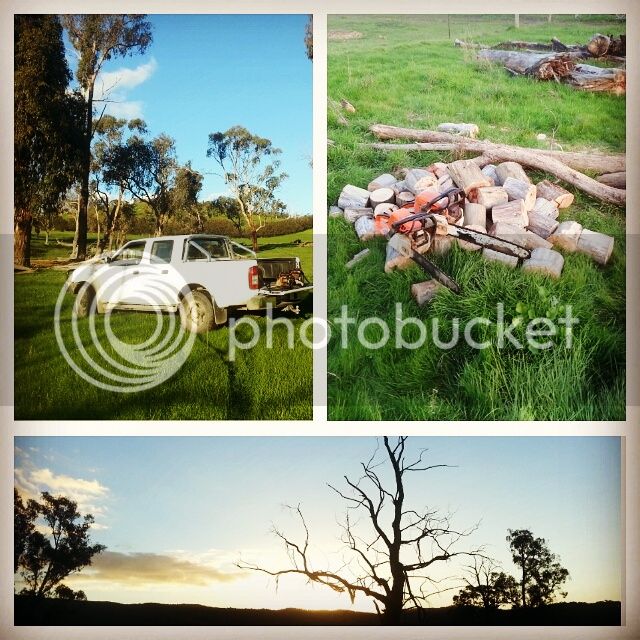
this is largely what the tray is for...


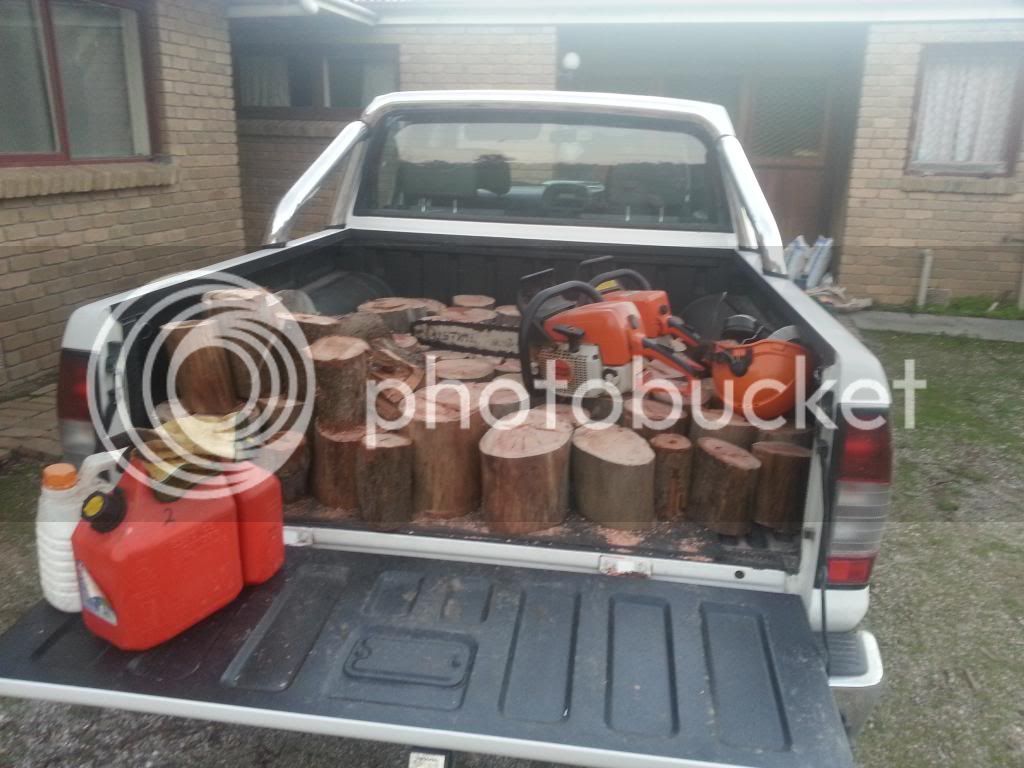
it also got a bit of farm work on the weekend,
 
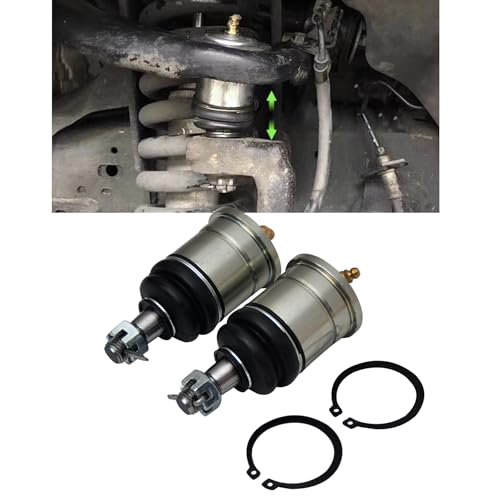
put a set of these on, havent had to use them yet:


and a little instagram photo to finish this entry off:


plans for it over time are,
- 2 inch suspension lift
- snorkel
- muddies once these wear out
- exhaust if $ allow
- minor audio upgrade
 
So a few more odds and ends

- Bought a tonneau from ebay
- Picked up some roof racks too
- plasti dipped the rear bar
- egr mod
 

Attachments

  • uploadfromtaptalk1418036637947.jpg
    uploadfromtaptalk1418036637947.jpg
    206.8 KB
  • uploadfromtaptalk1418036760823.jpg
    uploadfromtaptalk1418036760823.jpg
    203.2 KB
  • uploadfromtaptalk1418036860638.jpg
    uploadfromtaptalk1418036860638.jpg
    213.4 KB
Has anyone dipped their mirrors?
I haven't, but am keen to do it... I too would like to black out all the chrome on mine... I took off the rear step recently and replaced with a black ARB in fill panel. Then I just need to paint the mirrors, front grill and wheels and sports bar like you have done...
How does the plastidip hold up, especially on your wheels? How many coats did you do?
 
I did a light first coat and two 'full' coats on mine. Give everything is round you have to attack it from plenty of angles though so it gets a bit of extra on in

Wheels are holding up significantly better than I had expected. Only did two coats on them but would recommend 3 - 4. Going to give mine another coat over Christmas where I was a bit ligjt on first time
 
Got a genuine snorkel to install over the holidays to!
Have you installed the snorkel yet? If so how'd you go with it?
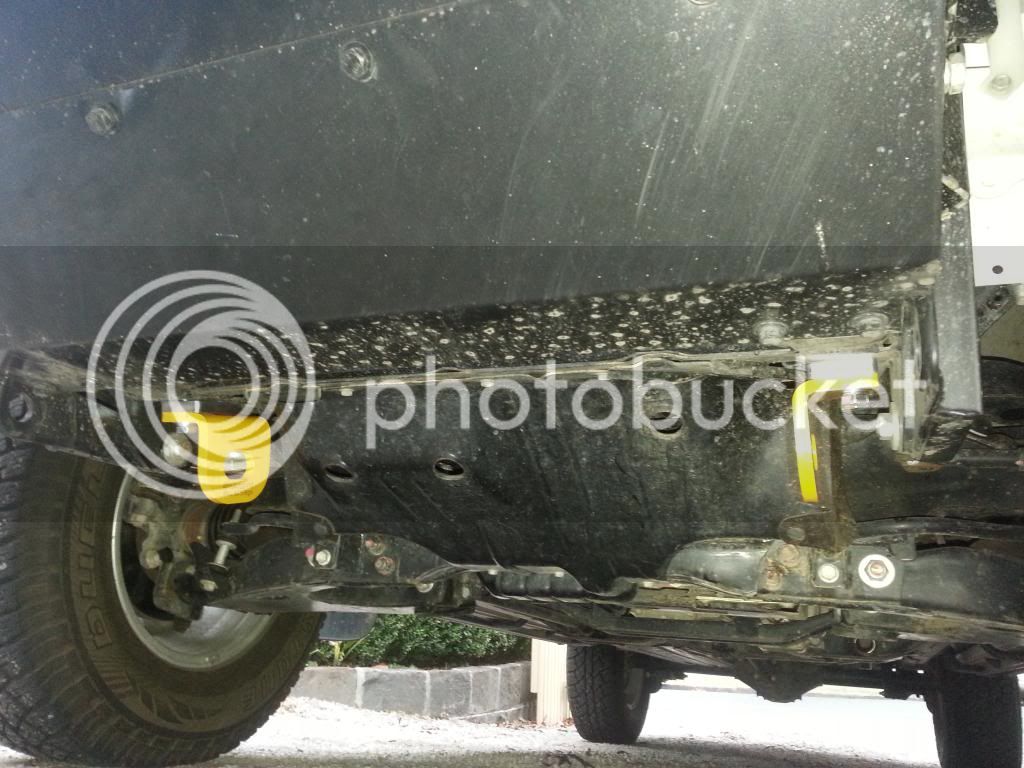
I installed an eBay snorkel on mine 2 days ago and had a bit of fun getting the piping in behind the guard to go on nicely. Had to have another go at sealing it up today and am now happy that its not going to leak. But definitely don't want to install another one anytime soon...


Haven't had a chance to do it yet... Need to find the hole saw. Not to keen on buying one for a single hole.

Heard getting it to seal up can be a pain. Any tips?
 
Haven't had a chance to do it yet... Need to find the hole saw. Not to keen on buying one for a single hole.

Heard getting it to seal up can be a pain. Any tips?
Yeah I luckily had a hole saw the right size in the work van, I wouldn't want to buy one either for one hole.

Definitely take the wheel off and put some stands under the car then you can properly get under and see what you're doing because it is pretty tight under there once the piping is in. On my first attempt I had the wheel on and struggled for ages. Then on my second attempt with the wheel off it was a lot better.

Also I found it easier to put some cable ties through a few holes I found in the inner guard area, then put sealant on the joins and push the piping onto the snorkel and airbox pipe but not do up the hose clamps. I then held it in place with the pre positioned cable ties and waited for it to dry for a few hours. Then I went and tightened up the hose clamps and put another extra layer of sealant over the joins and then let it dry for 5-6 hours before starting the car, wanted to make sure it was quite dry first, over night would have been better but I had to use the car.... (Instead of the cable ties you could just wedge something between the ground and the piping to hold it in place...)

On my first attempt I just put sealant on then pushed the piping on and tried to do up the hose clamps while still wet. While it was wet it was very slippery and while trying to hold the pipe and get the hose clamp in position and then tighten it was nearly impossible. The piping kept slipping off and the hose clamp never ended up in the right spot, thus I ended up with one end of the pipe coming loose on the first drive...

Now though after my second attempt it is solid as. I'm not sure what the inner guard piping is like on a genuine snorkel though I assume it would be similarly tight.
 
Did a genuine one on mine. No issues at all like that. Just drilled the holes, positioned the inner pipe, sealant on the outside of the outer pipe and pushed it in, then did the clamp up.

Didn't have any problems like that with the clamp or piping slipping off though. For the part through the quarter panel, I put a fair bit of sealant on the inside between the guard and the pipe, as there is a lip on the metal that stops it sitting flush. Then for the inner part, that goes to the airbox I put a ring of sealant both on the guard and the pipe before bolting them together.

At the airbox end, I put a fair amount of sealant on the outside of the pipe before pushing it into the airbox and then topped it up around the outside. Fairly confident there's not a lot else I could have done to seal it any better...

The only issue I did have fitting it was the bolt nearest the outlet on the actual snorkel piece, the washer was too big so wouldn't let the bolt go in. I ended up cutting part of one side of it off and it was fine aftet that. Oh and ratchet spanners make doing up the nuts inside the quarter panel a lot easier...
There ya go fazman, looks like it might be a bit easier for you. I think it might come down to my cheap eBay one having parts not quite as perfectly fitting as the genuine one.
And yeah I agree with bods, ratchet spanners is another thing that will make the job a lot easier, although I don't have huge hands so wasn't too bad for me...
Yep genuine is pretty easy. I already had ratchet spanners too so didn't worry me lol. The most fiddly bit, without removing the wheel, was removing and replacing the screws in the plastic guard inside the flare..
 
Well still hunting a hole saw, so the snorkel is still in its box. Also going to do it with my old man, measure 30 times cut once haha

I did buy an active sub from jaycar the other day though. So started making up a behind the seat organiser and speaker mount.

Going to use the headrest mounts to fix it off to the car with a little piece of flat ally to spread its load.

The angle part has a lid which will be hinged and will put some dividers or hooks in there to help keep it neat.
 

Attachments

  • uploadfromtaptalk1420690476943.jpg
    uploadfromtaptalk1420690476943.jpg
    23.8 KB

Latest posts

Back
Top