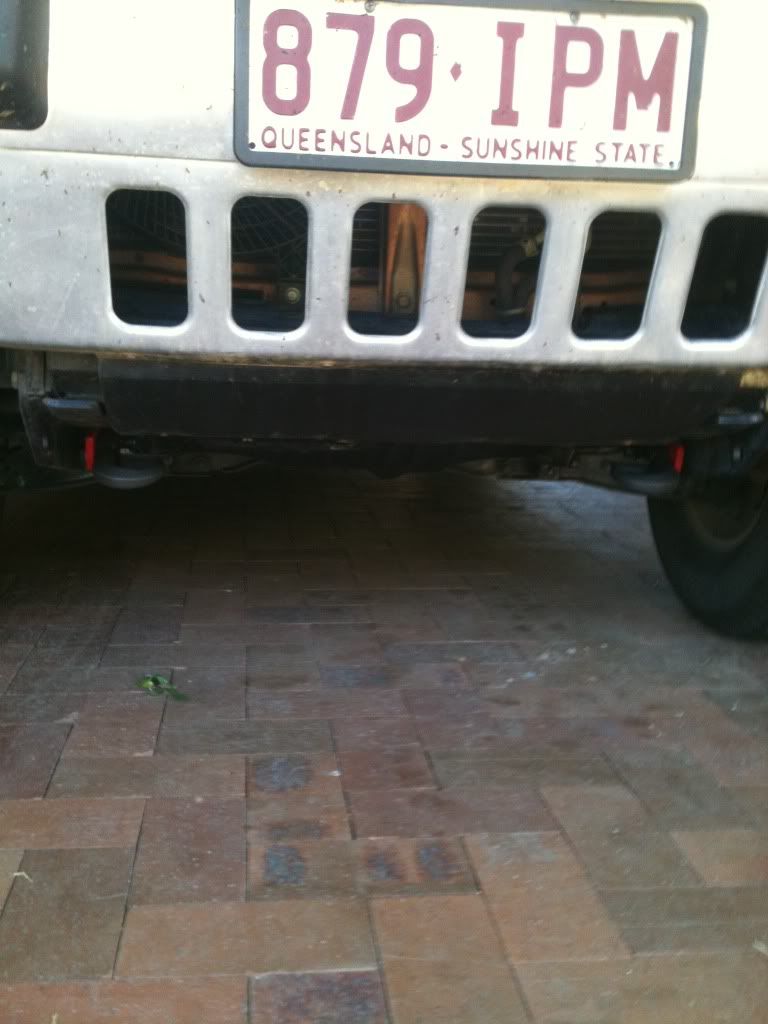
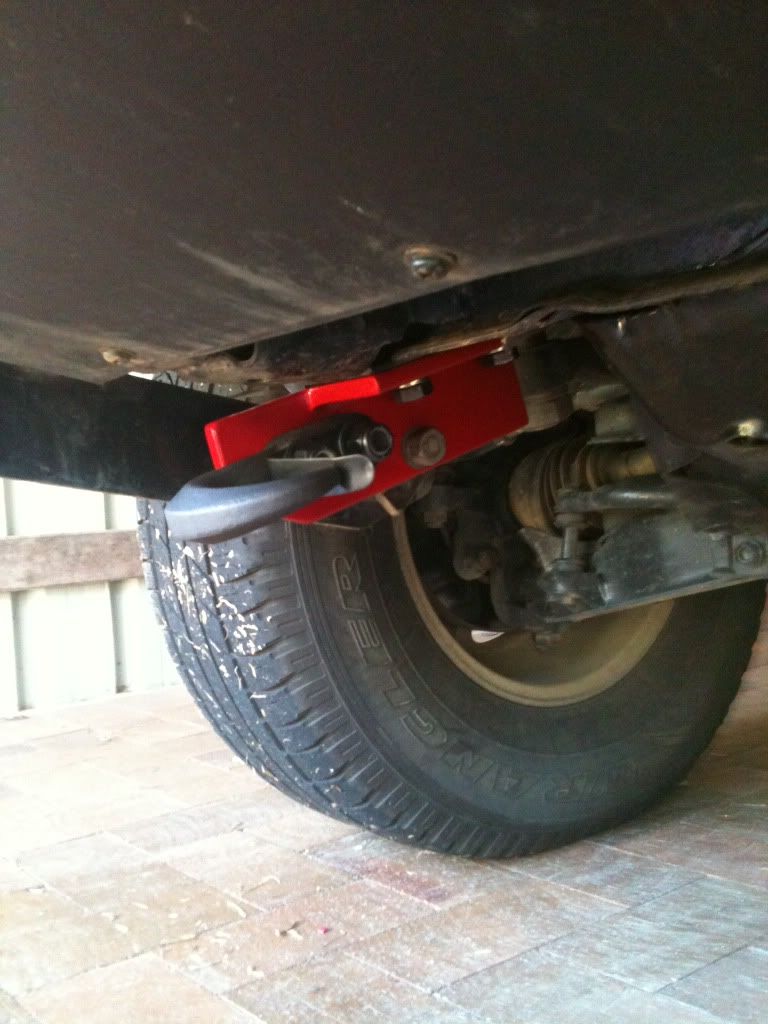
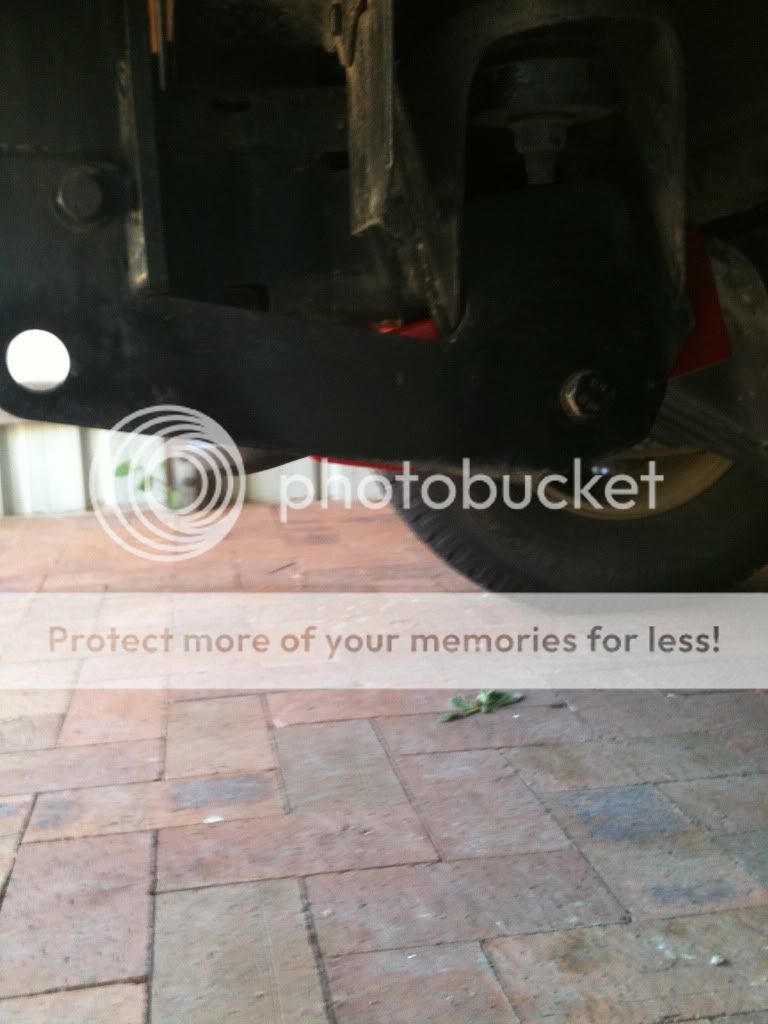
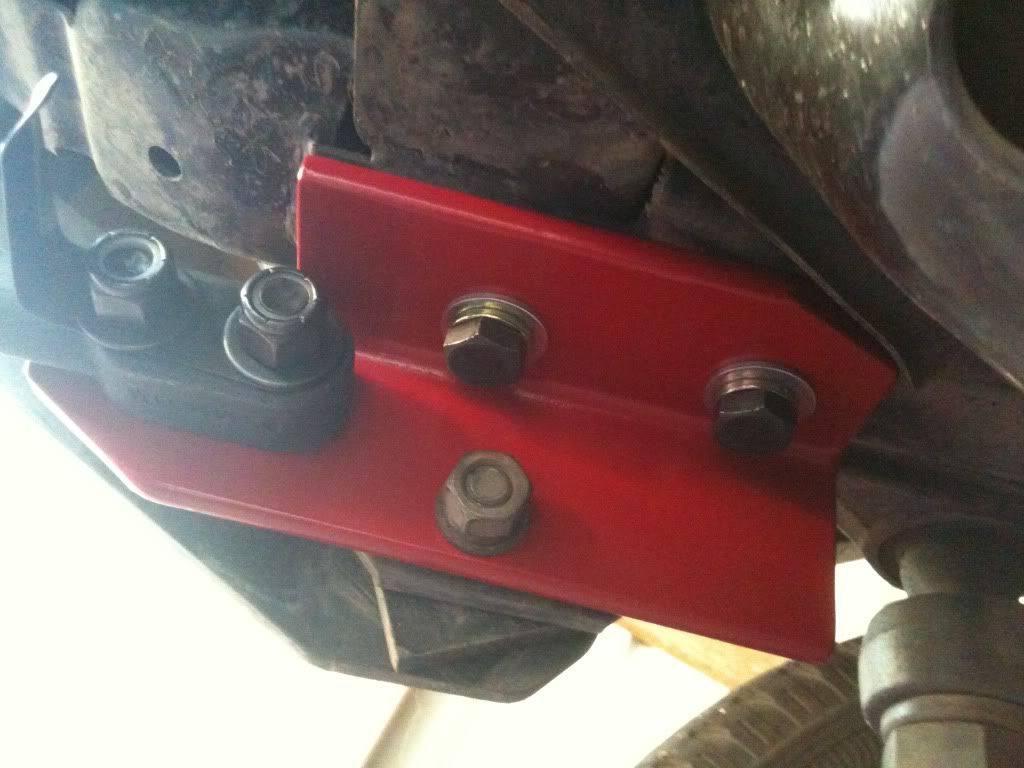
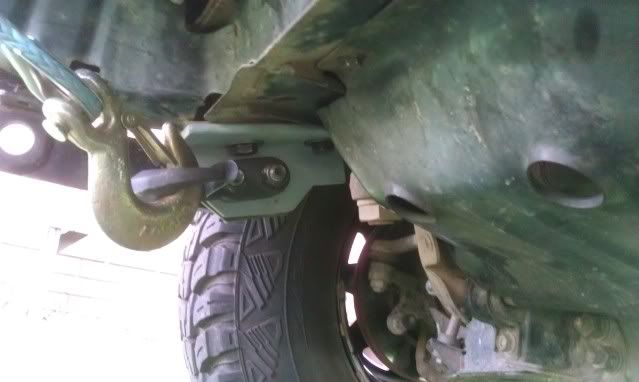
riteeo, heres some pics of my completed recovery points for my d22 navara bolted up now.
and i said i would put up dimension etc, so here goes, might sound a little confusing but if you need anything explained just ask away.
equipment i used to make them was- a 4inch grinder with cutting, grinding and flap wheels, a scribe, engineers chalk, set square, pedestal drill (15mm and 17mm drill bits), and then a 19mm socket and combination spanner to undo and tighten all bolts and nuts
recovery hooks- just any bolt on recovery hook will do, i got mine from BCF cost $20 each they are a 10,000lb hook (cant remember the rating in tonnes), but theres alot of places that sell them.
bolts needed- you will need 4 M12x1.25 30mm long high tensile bolts and washers and spring washers for the captive nuts that are already located in your chassis (see earlier page its either 1 or 2 in this thread for i photo i uploaded showing the captive nuts,
-also i went and bought 4 replacement bolts for the recovery hooks not sure exactly what size they are except for they are roughly 14mm diamter and i took it into my local nut and bolt store and got 4 that were 10mm smaller than the ones that came with the hook which were 70mm so you need about a 60mm long bolt i didnt used spring washers as the hooks came with lock nuts. The cost for the 8 new bolts, plus all the washers came to $16. Price will more than likely vary on this from shop to shop.
the bracket is made out of 65EA10 (which is simply 65x65x10mm angle iron). I was able to find a couple of offcuts of this angle at work which i used. so i dont know how much the angle will cost to buy, although im sure if you went to a local fab shop they might have a few offcuts that you could get for cheap.
Ok the dimensions for the peice of angle are as follows, (all of these are outside measurements including bolt holes),
-the side length (the length where the hook bolts onto and where the bullbar mounting bolt goes through) is 210mm long,
the top length (where the m12 bolts go through to bolt to the captive nuts in the chassis is 150mm long.
bolt holes are,
-for the captive nuts start at the front of the top section, measure back 52mm for the first hole and 122mm for the second hole, and approx 32mm from the edge (meaning the corner of the metal), the location of the captive nuts can vary though, tommo on here said his were all 33mm from the edge, however all mine were different so make sure you get a steel rule and check that, the difference appears to be cause from the captive nuts not being centred over the chassis holes prior to being welded in. i used a 15mm hole for these just to allow for any mistake when i measured them up.
-for the bullbar mount bolt, measure in 86mm from the back edge and 51mm from the edge (corner), i used a 17mm hole for this hole
-for the recovery hooks, measure 32mm down from the corner of the peice of angle, and then you want to about 55mm from the very front, i cant remember what the spacing between the 2 holes of the hook were although im not exactly sure if all recovery hooks are made exactly the same. i used a 15mm hole for these holes
now the 150mm section will end up with the front end of it sitting in line with the very end of the actuall chassis (which you can see in the close up photo).
for the angled cut off sections on the top part where it attaches to the chassis they were different from driver to passenger side, the passenger side i had to cut off more then the driver side one, this is so the bracket doesnt catch on what appears to be a bracing plate thats welded to the chassis, so for this i would recommend just after you drill your holes just put it up by hand lining the front up with the end of the chassis and then marking with chalk a rough line that is approx 2-3 mm away from that brace plate and then cut that piece off the bracket with a grinder then just grind it down until it fits nicely, rememeber dont cut off too much otherwise you may cut to close to your bolt hole. the angled cut at the front underneath the recovery hook i simpley bolted the bracket up to the chassis without the hook attached and then with some chalk marked a line on the same angle as the bullbar mount but just about 2mm lower than it,
just again, make sure that before you drill any holes in your brackets, get a steel rule and get under and double check the exact positioning of your captive nuts and bullbar mounting bolts, as they could very well be slightly off from where mine were.
to paint them i just used a tin of killrust, ideally i would like to get them properly painted r powder coated, but this will do for now. if anyone has any questions or if you think i have missed out somethingwhen explaining it then just ask me and i will be happy to help.

