Hey all before I went on the scenic rim trip on the weekend I decided to finally begin building some drawers for the back of my nav and mounting the fridge on a slide. I did this all on the friday before the trip. I am planning on doing this build in stages to offset the cost.
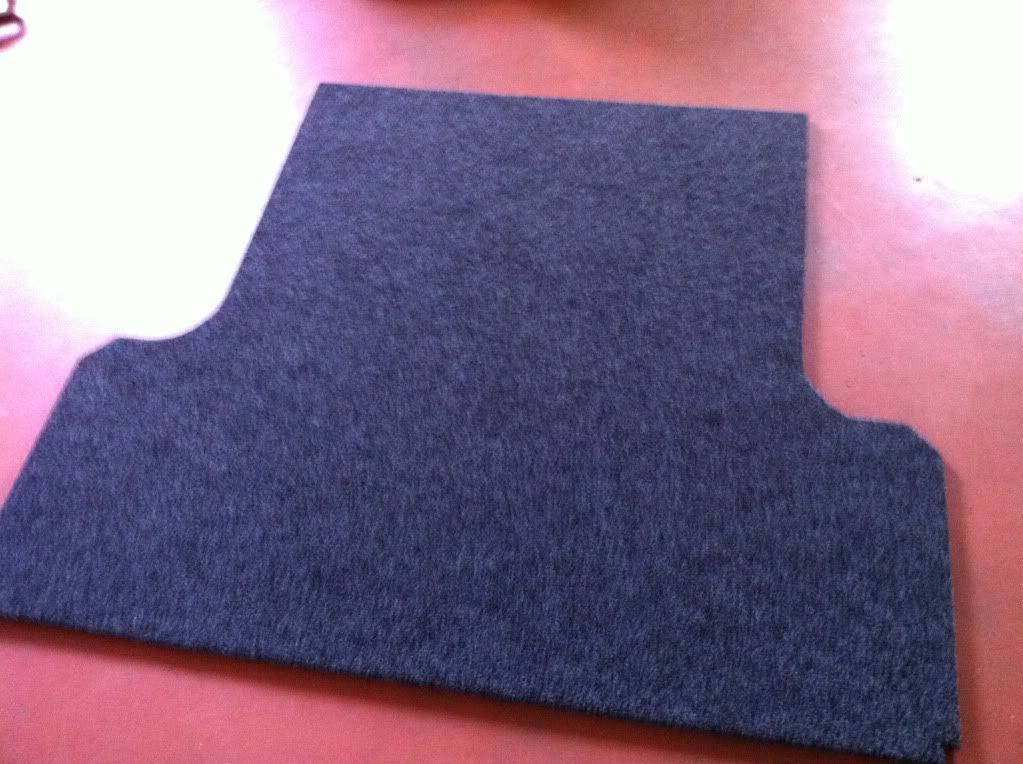
So for the first step I made a false floor for the fridge slide to bolt to and somewhere to begin the drawers.
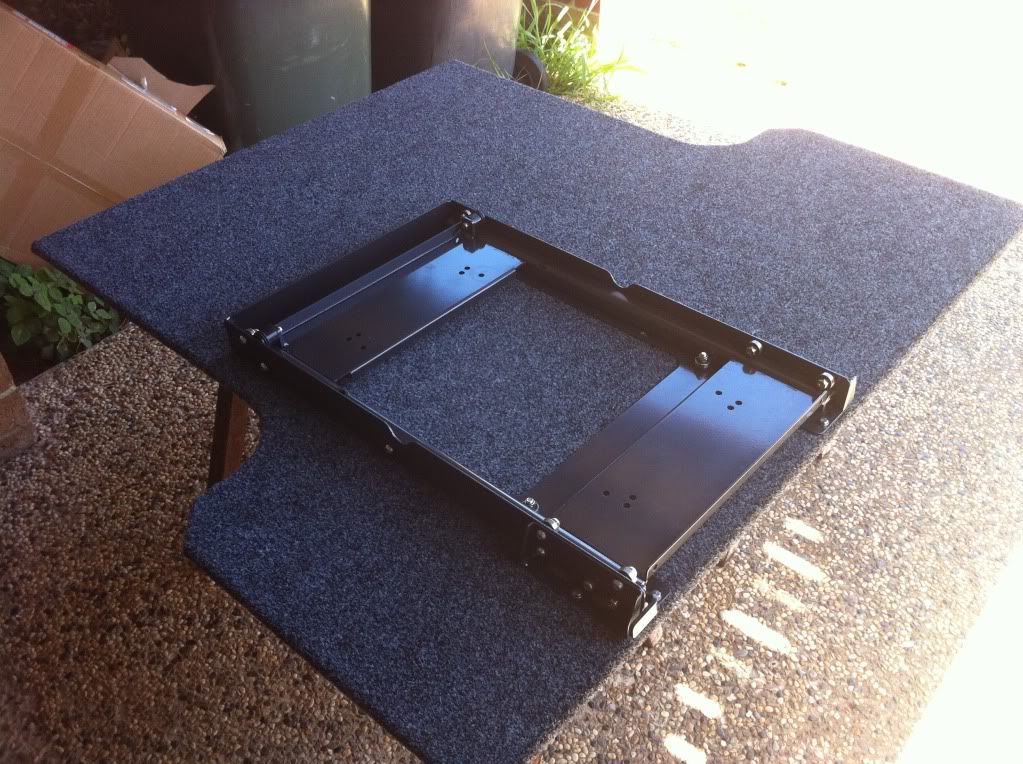
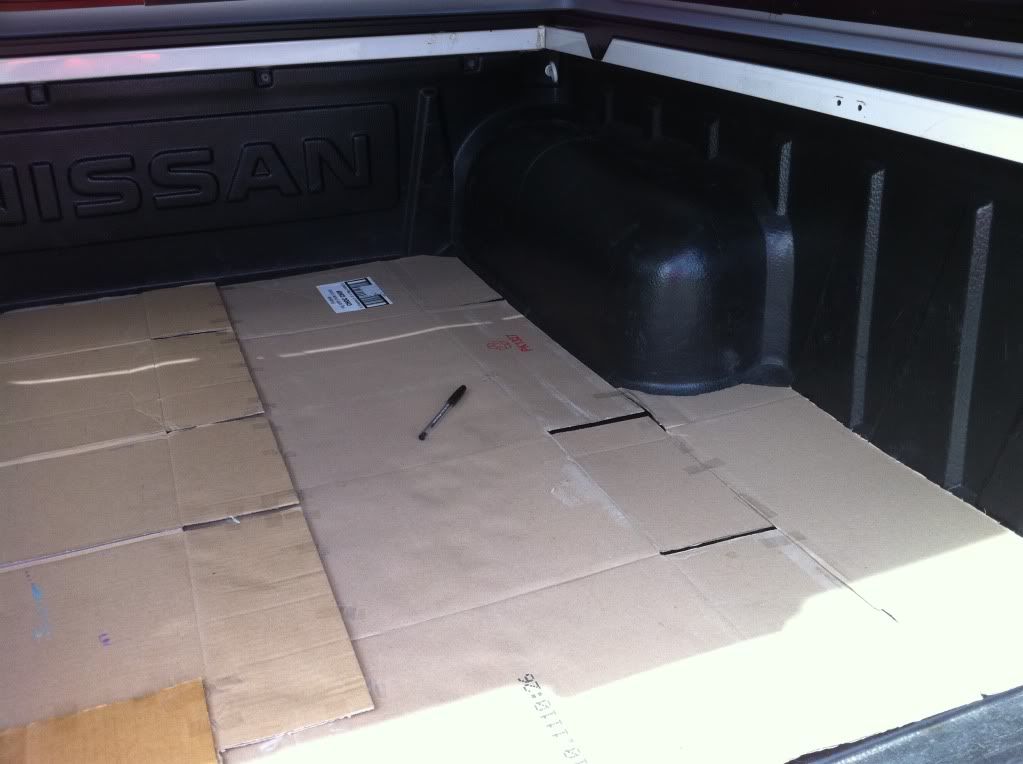
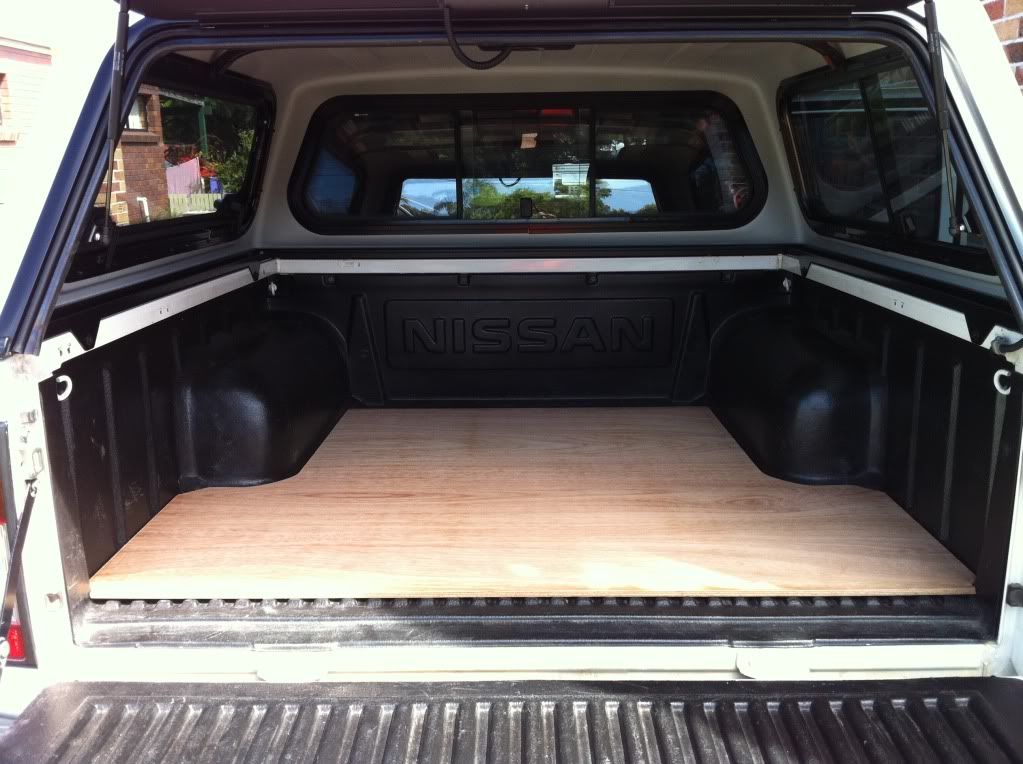
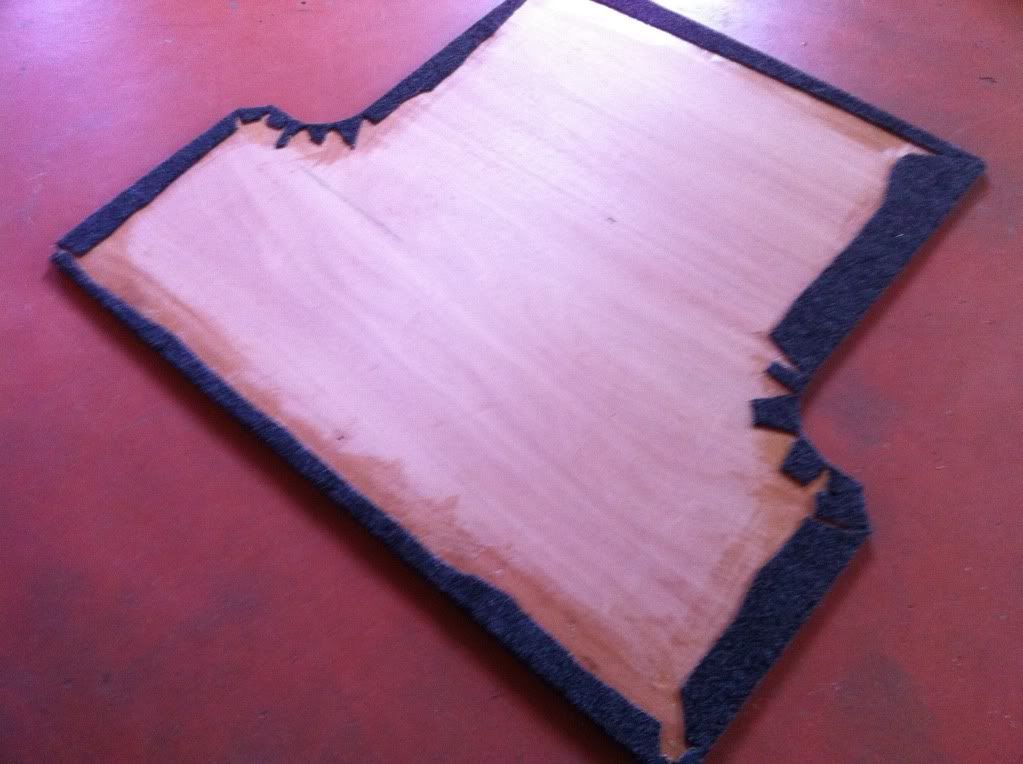
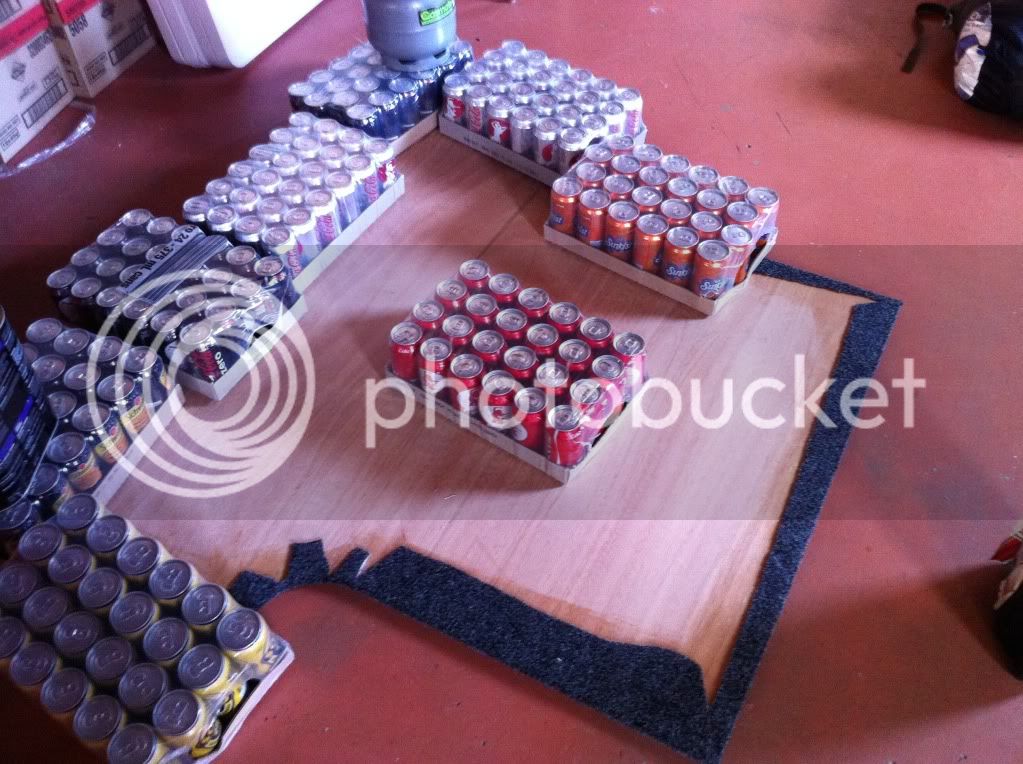
I used 9mm marine plywood and marine carpet with stainless steel bolts. I first made up a template out of cardboard and transfered this to the ply. Once cut out I test fitted it to the tub and set the position of the slide. I then pre-drilled the slide mounting holes. I then placed the roll of carpet over the wood and cut to a rough size. Next I brushed contact adhesive to both surfaces and left it to dry a little before sticking the carpet down. I folded the edges around and cut to fit. I added more adhesive to the edges and glued them down as well. I weighted the edges down so they dried and didn't pull up.
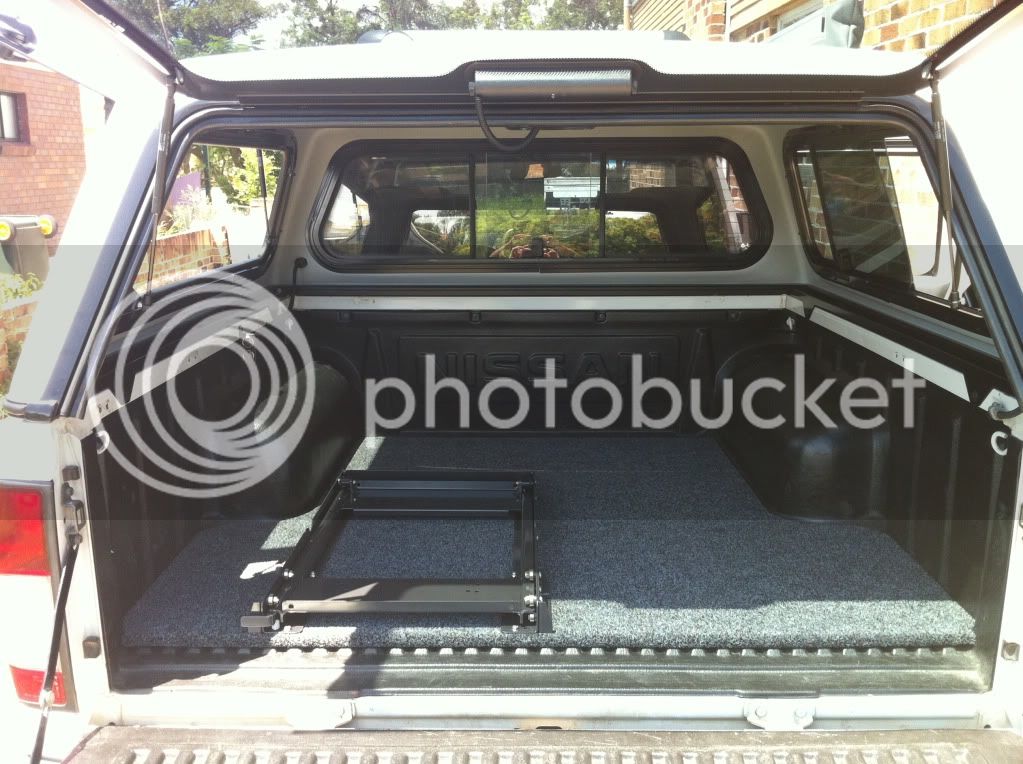
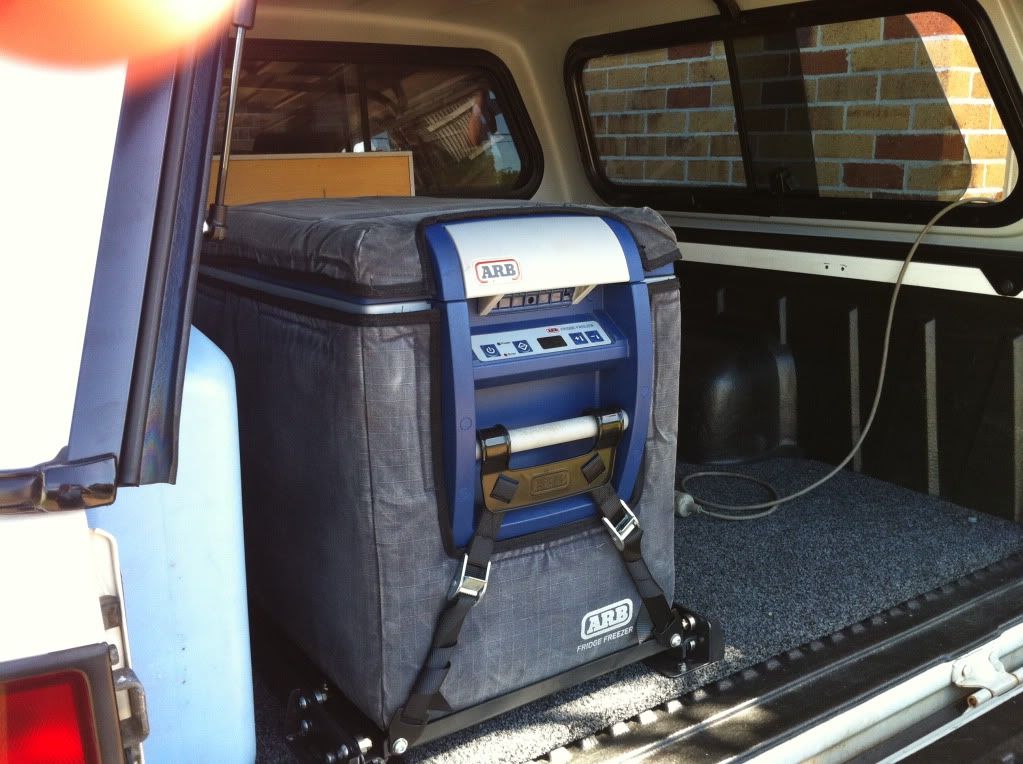
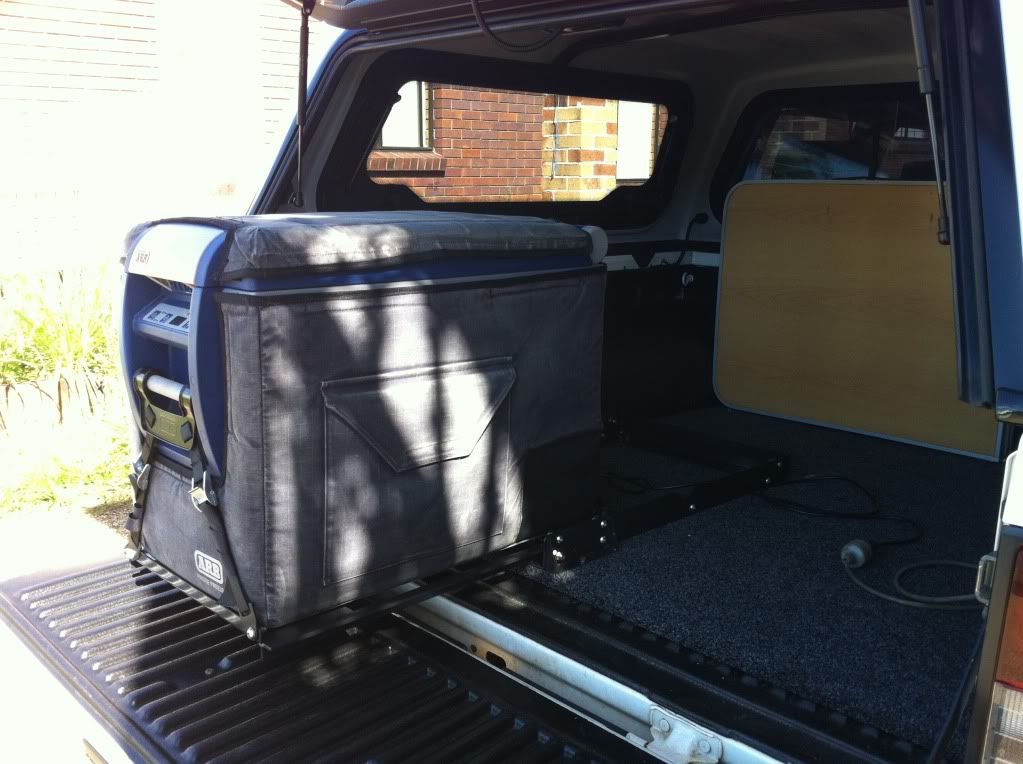
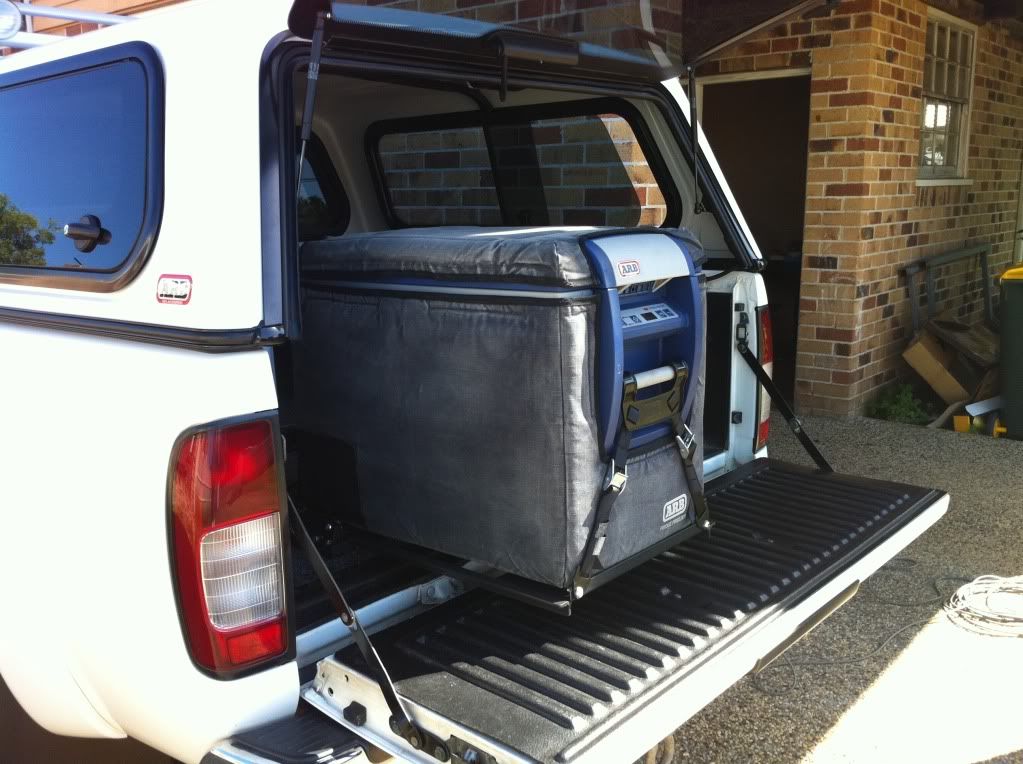
Once dry, I bolted the slide in position and placed it back in the tub, this was really difficult to maneuver through my canopy and was a tight fit. then I checked the underside of the nav to see where I could drill to mount the bolts. Once mounted I fitted the fridge and strapped it down ready for the weekend.
Next in stage two I will construct a box over the fridge and measure up the drawer that will sit next to the fridge. At the same time I made the floor I also ran power through the canopy to a dual 12volt outlet mounted to the side of the tub to power everything from the dual battery.
Here are the pics:


